


I've gotten a lot of requests for the tutorial on the rolled fabric rosette headbands! So, here you go! :)
YOU WILL NEED
*STRIPS OF FABRIC 1 to 2 inches wide. The longer the fabric, the bigger in diameter the flower will be.
*GLUE; you can use fabric glue or glue gun (I used glue gun) HOWEVER, if you are going to adhere these to something you will be washing, use fabric glue because it's washable.
 Take your strip of fabric. I like to tear mine because I like how the frayed edges look.
 Fold your fabric in half.
 Fold over one corner...
 And then the other to make a point at the top.
 Now, take your felt and add a little puddle of glue to the center.
 And glue down the pointed end of your fabric onto the felt. This will be the center of your flower.
 Start to twist the fabric around...
 And as you twist around, glue around the edge to secure it down.
 Keep twisting and gluing it down...
 And when you get to the edge of your felt stop.
 Trim off the extra fabric leaving a little bit of hangover.
 Now, glue the piece of hangover onto the back of the fabric.
 Now, cut around the flower to remove the extra felt.
 Flip it over and glue it to the back of your headband. (I decided to use the stretchy kind this time...)
 Add as many flowers as you want, and glue felt circles on top of the headband to make it extra secure!
 Now, you can either leave it and be done, or embellish it. They look cute either way! If you want to embellish the flowers, add a little pool of glue to the center of your flower.
 Glue on your button. You can add as many as you want...wherever you want. That's the fun part!
 And...you're done! Now you can enjoy your own custom headband! Give yourself a big pat on the back! Be sure to link back to me if you blog about it...I can't wait to see what you guys create!!! I know they will all be ADORABLE!
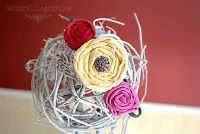
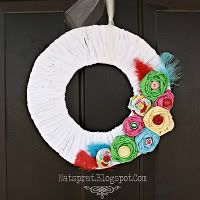
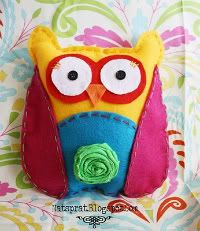
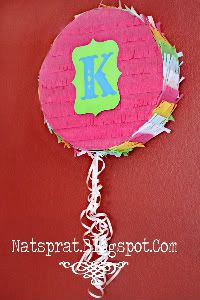
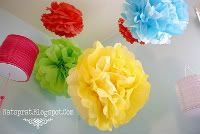
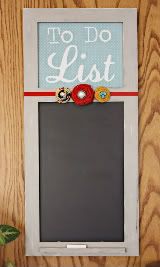
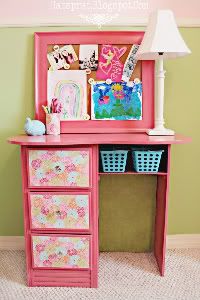
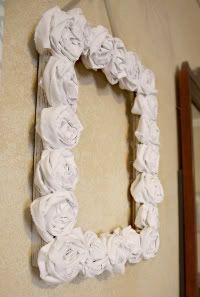
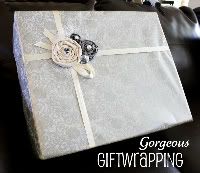
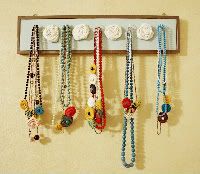
These are some of my other creations...it's addicting!


*UPDATE* Check out my new TUTORIAL on how to add mesh like the ones in the pictures! :)
submitted to:


Fingerprints on the Fridge
Hodgepodge Friday
Blue Cricket Design
YOU WILL NEED
*STRIPS OF FABRIC 1 to 2 inches wide. The longer the fabric, the bigger in diameter the flower will be.
*GLUE; you can use fabric glue or glue gun (I used glue gun) HOWEVER, if you are going to adhere these to something you will be washing, use fabric glue because it's washable.
*FELT (to use for backing)
*BUTTONS
*A HEADBAND
*BUTTONS
*A HEADBAND
 Take your strip of fabric. I like to tear mine because I like how the frayed edges look.
 Fold your fabric in half.
 Fold over one corner...
 And then the other to make a point at the top.
 Now, take your felt and add a little puddle of glue to the center.
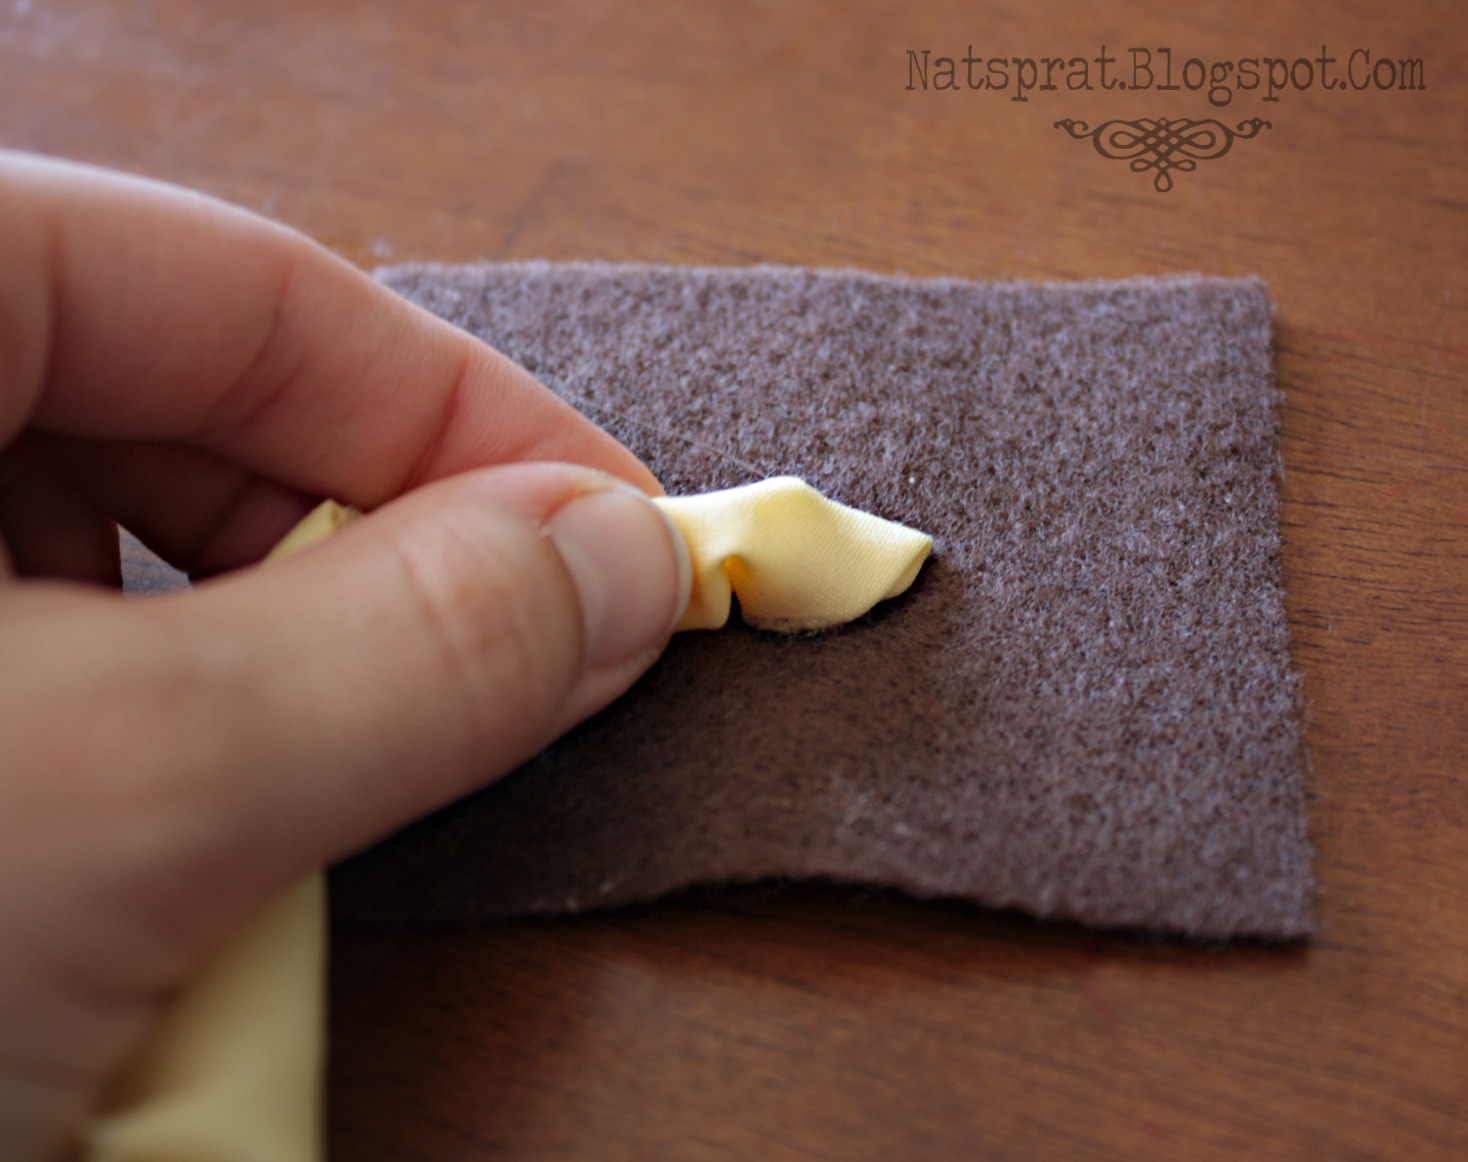 And glue down the pointed end of your fabric onto the felt. This will be the center of your flower.
 Start to twist the fabric around...
 And as you twist around, glue around the edge to secure it down.
 Keep twisting and gluing it down...
 And when you get to the edge of your felt stop.
 Trim off the extra fabric leaving a little bit of hangover.
 Now, glue the piece of hangover onto the back of the fabric.
 Now, cut around the flower to remove the extra felt.
 Flip it over and glue it to the back of your headband. (I decided to use the stretchy kind this time...)
 Add as many flowers as you want, and glue felt circles on top of the headband to make it extra secure!
 Now, you can either leave it and be done, or embellish it. They look cute either way! If you want to embellish the flowers, add a little pool of glue to the center of your flower.
 Glue on your button. You can add as many as you want...wherever you want. That's the fun part!And...you're done! Now you can enjoy your own custom headband! Give yourself a big pat on the back! Be sure to link back to me if you blog about it...I can't wait to see what you guys create!!! I know they will all be ADORABLE!
These are some of my other creations...it's addicting!


*UPDATE* Check out my new TUTORIAL on how to add mesh like the ones in the pictures! :)

submitted to:


Fingerprints on the Fridge
Hodgepodge Friday
Blue Cricket Design


40 people leaving some love!:
Good timing, girl!! My daughter and I were cutting and rolling fabrics for flowers last night and they just weren't looking as pretty as some I've seen! Awesome tutorial and pics... can't wait to try it with her again tonight! Thanks!!
Ok, do you know how awesome you are?!? I want to make all your crafts. You are so good! Keep all the ideas coming!
that is super pretty!! Love the colors!! thanks for linking up to handmade tuesdays @ www.ladybug-blessings.com (p.s. make sure to enter my 500 follower giveaway, it ends tomorrow :)
Oh Thank you, thank you, thank you!!! Cant wait to go buy some fabric and make some. I will deffently post it on my blog and let you see how they turn out.
*HUG*
Awesome tutorial! Super easy to follow - thanks for doing it! :-)
Thanks for this tutorial! I can't wait to make some.
Wow--that's easier than I thought! THANKS! You do a splendid job!!
I love this technique! i learned to roll roses a different way that it a total pain, but this is MUCH better (with less hot glue burns) I can't wait to try it! Thanks for sharing!
P.S. I am convinced we are twins too! I thought it the first time I saw your blog! So clearly, if we had twin thoughts, we are twins! Ha ha!
Keep em coming :) This is a fun hobby for you!
These are beautiful, thank you for the tutorial!
so cute!!!
These are great! Thank you so much for sharing this tute. I love all things fabric flowers, and now I can make myself a headband. :)
these are adorable!! i love the rosettes on just about anything. great combos on your headbands! cute blog, by the way! :)
So cute! Visiting from Tatertots and Jello and I am a new follower! Hope you are having a great weekend!
Michelle
www.delicateconstruction.blogspot.com
Absolutely love it!! *newest follower of your blog* can't wait to enjoy all your projects.. off to read more ;)) I'm SO inspired Pls stop by & share in my fun too --http://theartsygirlconnection.blogspot.com ;))
FINALLY, someone explains how to do this in a coherent fashion! Thanks so much. I figured it was easy to do, but the couple tutorials I saw about these cute fabric rosettes didn't make any sense.
Thanks so much for sharing this,
Tracy http://allthumbscrafts.blogspot.com
Thanks for this tutorial. Where did you get that Vine Ball that the headband is on?
so pretty. I love the colors!
megan
craftycpa.blogspot.com
So Cute! I will have to try this soon! Thanks for sharing!
Saw this on Tatertots and Jello...LOVE IT!
Your newest follower, Jessica
myworldmadebyhand.blogspot.com
They are all beautiful! I just made my first rolled flowers and it really is addicting! I'm now a follower and would love if you checked out my blog as well.
Melanie
youmadethat.blogspot.com
Thank you for this tutorial. I love these flowers and have wondered how to make them. Thanks for sharing!!
heather
xoxo
This is awesome! Thanks so much for the tutorial.. Love that you make the flower right on top of the felt.. what a great technique! Thanks so much for sharing with the Pink Hippo Party.. (and for the well wishes.. hugs!) I am your newest follower!
love it!!!! I have to try this. Sooo cute and so mant options.
ladeedacreation.com
These are SO cute!!! Thanks for the great tutorial! I am your newest follower...feel free to check out my blog as well :)
Abbi
This is seriously the BEST and EASIEST tutorials I have seen yet on these flowers. I am now your newest follower. Thank you for taking these flowers look simple.
I love the way you glued it down and then started rolling it! I have not seen it down that way! Love it! :)
This looks so simple, and I love that they are no-sew! I have become a follower. Very clear directions!
Love this! Will definitely be trying this on a rainy Sunday afternoon now autumn is on its way in NZ!
Thanks for directing me to it :)
Sadie x
http://whatsadiedid.blogspot.com/
Hey sweets! Thanks for following me and commenting on my twisted necklaces! I came over because of that and now LOVE your blog! I am your newest follower now. I will have to try your method for fabric flowers to mix mine up a bit! Great tutorial thanks for sharing!
Wow I love these flowers I have been trying to find how to make some like this, This blog is fantastic I am going to give it a go now. I have tried making other kinds of headbands here some of my pics of my flower headbands
These are FANTASTIC! I can't wait to make like a gazillion of them. :D
You are the sweetest EVER for this tutorial!! I think I'm going to get addicted to these. I am in love with your wreath tutorial too. It's on my list of MUST DO's.
GREAT tutorial, thanks! New follower of your blog. ^^
Thanks for the tutorial!!
I can't WAIT to try these!!! I have been wanting to know how to do these FOREVER!! Thank you Natalie!
Hey Nat! It's Nat.Thanks for the love and the tutorial. Feel free to feature away.I'd be honored.I seriously am a follower now and can't stop looking through your blog! Obsessed.
I really love this website, you do an awesome job with the layout, and Especially the step by step pictures! Super impressed! :)
Hi Nat
Thank you for being so generous enough in sharing with us your step by step tutorials, they are absolutely beautiful.
This is my first time and im really excited to try this one.
I love you
Post a Comment