


Hello again! This is a tutorial request from one of my awesome readers who wanted to know more about adding mesh and stuff to the flowers like in the pictures at the bottom of my ROLLED FABRIC ROSETTE HEADBAND TUTORIAL. (Say that ten times fast!) So...here you go, Cheron! :)
YOU WILL NEED:
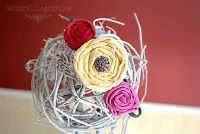
A rolled fabric rosette
Mesh
A needle and thread
gluegun/gluestick
A headband

Step 1: Get your flower ready! Don't remember how to make them? Go HERE.
 Step 2: get your mesh ready. (Mine is a pale turquoise...you can't really tell in the pictures)
*You can find this for really cheap at any fabric store or even Walmart*
 Now, cut a piece of mesh. I cut mine to about 2 inches high and 6 inches wide. You can cut yours to whatever size you want, though. To be honest, it looks good no matter what size you do it!
 Fold your mesh in half.
 Take your needle and thread, and weave the needle in and out along the center of the mesh. (close to the part where it is folded.)
 Okay, now pinch it together...
 and tie it up. Trim the thread so you don't have long pieces hanging over.
 So it looks like this.
 Now you'll take your glue gun and put a little bit of glue on the back of the flower and stick the mesh to it.
 Make a line of glue down the middle of the back...
 And put your headband in the glue. Hold it there for a minute while the glue cools a little.
 Now take another circle of felt and glue it to the back, just like in the first tutorial.
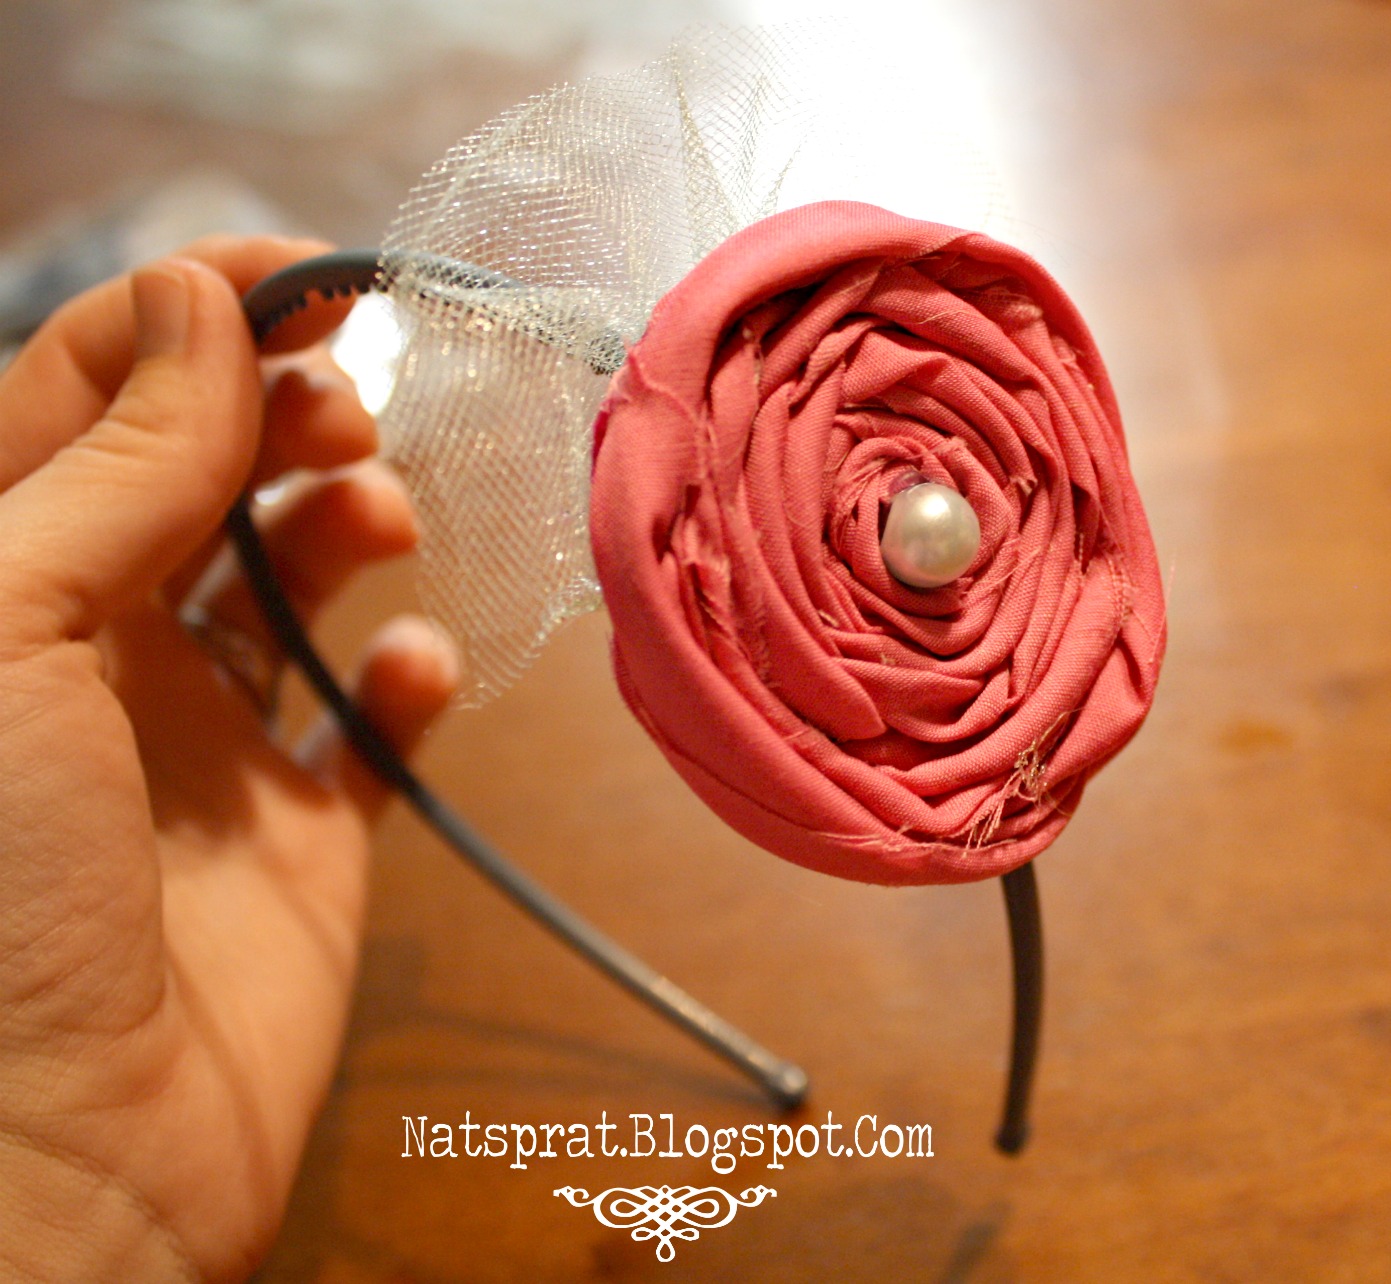
And that's it! You can make your mesh wider and longer and wrap it all the way around the flower...it'll look kind of like this
 So many possibilities! If you guys have any more questions, let me know! :)


13 people leaving some love!:
Love it! Very creative! :D Thanks for sharing.
Found you from Tip Junkie's linky today!
~Karli
www.curlyhairdoideas.com
Very cute! Thanks for sharing how to do this.
Showing some love from your Tatertots and Jello link! :o) Great tutorial. Consider me a new follower!
Super cute! You are the accessory queen! Lucky you have two adorable girls (and yourself) to lavish all that goodness on. :)
This is darling!!! Wish I had little girls again!!
I love your page! I've found so much stuff on here to be so helpful and help me be creative. Keep up the good work and I anxiously await your next project!
bri
Looks FANTASTIC.
I adore this head band! I love making fabric flowers! I would love for you to stop by and link up to my Ten Buck Tuesday link party (it lasts all week)!
just wanted to thank you for your very sweet comment you left on my blog! it meant so much to me, you will never know how much! I appreciate it so much!
I'll be trying this! Thanks for the fun idea from Tip Junkie!!
Krista
www.thehomemaderenegade.com
So i love your headbands, and have already made some. But i must have missed some steps so i'm really glad you did this add on for the mesh!!! Sent one to my sister for my birthday and made her day!! Thanks Nat!!!
Thanks so much for showing how to make these. I am SOO glad that I found you. I have seen people selling them online for $15.00 each and being a starting photographer I can no where nears make enough money for them. This will save me A LOT of money and they will look soo good on the babies I photograph.
Hi Nat, Thank you for sharing this very detailed tutorial,It is so beautiful, thanks for being so generous enough to share it with us.
Post a Comment