Photobucket Photobucket Photobucket Photobucket

Friday, September 30, 2011

Happy Birthday Whitney/Birthday Party for FREE

Photobucket

My Whitney is 8. I just can't even believe it! Where did the time go!?! Just yesterday she was a tiny baby who wouldn't let us sleep at night...and now she's a beautiful 8 year old! I don't know what I did to deserve such a special girl, but I am eternally grateful.

Just a few things about my Whitney:

She has a profound love of her Savior and the Scriptures. She amazes me.

She is kind and sensitive and shows a touching sense of empathy.

She loves animals and would have a million if she could. (I, on the other hand, am just fine with ONE cat.)

She loves to draw and paint or do pretty much anything artistic.

She's a little song bird. (which can get a little frustrating when you're waiting for her to finish using the bathroom while making a pit stop at a gas station and she's sitting on the toilet singing the third verse of, "I Am A Child of God")

She loves to tell jokes. I don't know how she remembers them all...but she's got a great selection in that brain of hers. (I'm positive she got that gene from both of her Great Grandpas...)

She wants to go to BYU. (att'a girl!)

She wants to grow up and be a mom, an archaeologist and a modest clothes designer. (she's going to be busy.)

And, right now she's into Barbies. I asked her what kind of a birthday party she wanted and she said, "Barbie!" And I said, "Okay!". But, when we got to the store to get party stuff my DH took one look at the Barbie decorations and said, "Oh, heck no." And then something along the lines of Barbie Lady GaGa...

And I giggled. He was right (minus the raw meat dress and metal underwear...) So, I figured I could just make my own decorations. I was thinking Barbie Fashion Fairytale...pinks and black and sparkly, oh my!

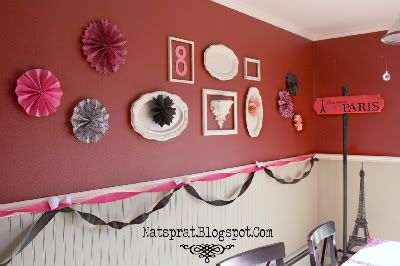
I made some of these Paper Accordions (Soooo easy and fast!)

Photobucket

And I took some big plastic gem things that I had laying around in my craft stuff and hung them from the dining room lights to make some sort of desperate attempt at a crystal chandelier. Hey...it was 3 a.m., cut me a break. ;)


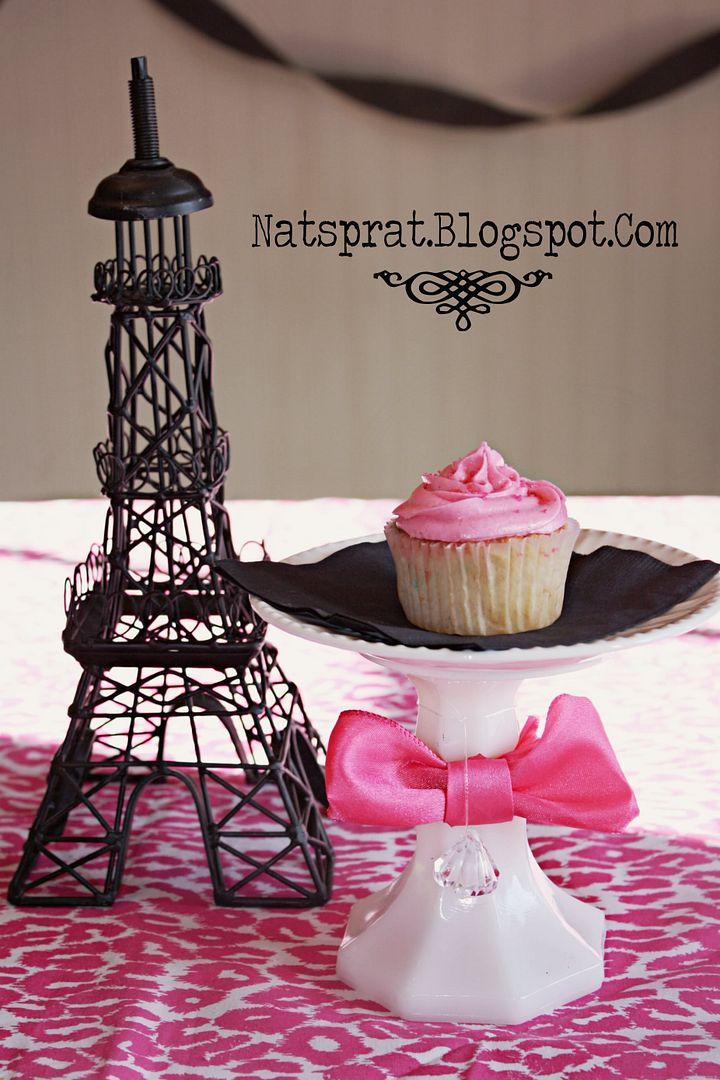
Then I remembered I had some hot pink leopard print fabric laying around that was on clearance for $1 a yard...woo-hoo! The perfect fashionable table cloth!
Photobucket

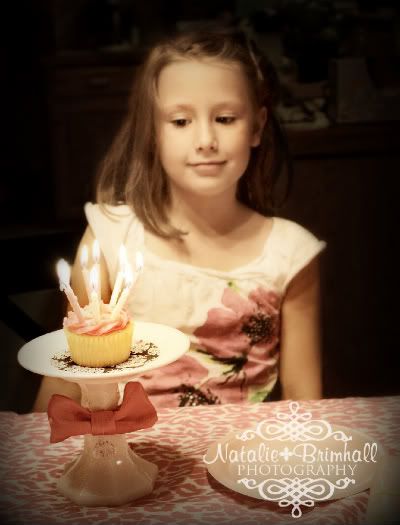
Like the cupcake stand??? It's really just a little dessert plate stuck to a candlestick. Fancy, I know. (what you DON'T is that it's actually just sticking together with those double sided scrapbook sticker thingies...I was too tired to wait for the glue gun to heat up!) Ahhh, real life. I love it.

Oh, and the Eiffel tower? FREE. I've had that puppy sitting around since Girls Camp last summer! I'm so glad I held onto it!

So, the total out of pocket cost of decorations for this party:

tablecloth: Free (already on hand.)
cupcake stand: Free (already on hand)
crystal chandelier (don't laugh!): FREEEE (you guessed it, already on hand.)
scrapbook paper: $1.25 (okay...I lied. FREE...already on hand)
crepe paper: free....

So....what is the moral of this story? DON'T THROW STUFF AWAY!!! You will find a use for it...I swear. Unless it's like, a scary clown doll...do the world a favor and throw it away. Actually...smash it up first, burn it, and THEN throw it away. *shudder*

Last but not least....

HAPPY BIRTHDAY, MY WHITNEY!!! I LOVE YOOOU!
Photobucket


Linked to:
Tatertots and Jello
Wednesday, September 28, 2011

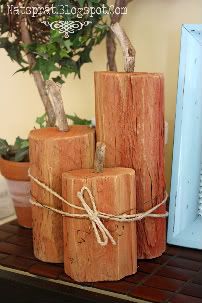
Easy DIY Pumpkins


Photobucket

It's definitely fall here in Colorado! And I have that incredible itch to bring fall inside the house! I tried the beautifully colored leaves from outside....but the kids thought they'd make great confetti. So...plan B called for making something of my own! These have been SUPER popular lately! I swear...I'm seeing them all over blog land! (Hiiii Lolly Jane!)

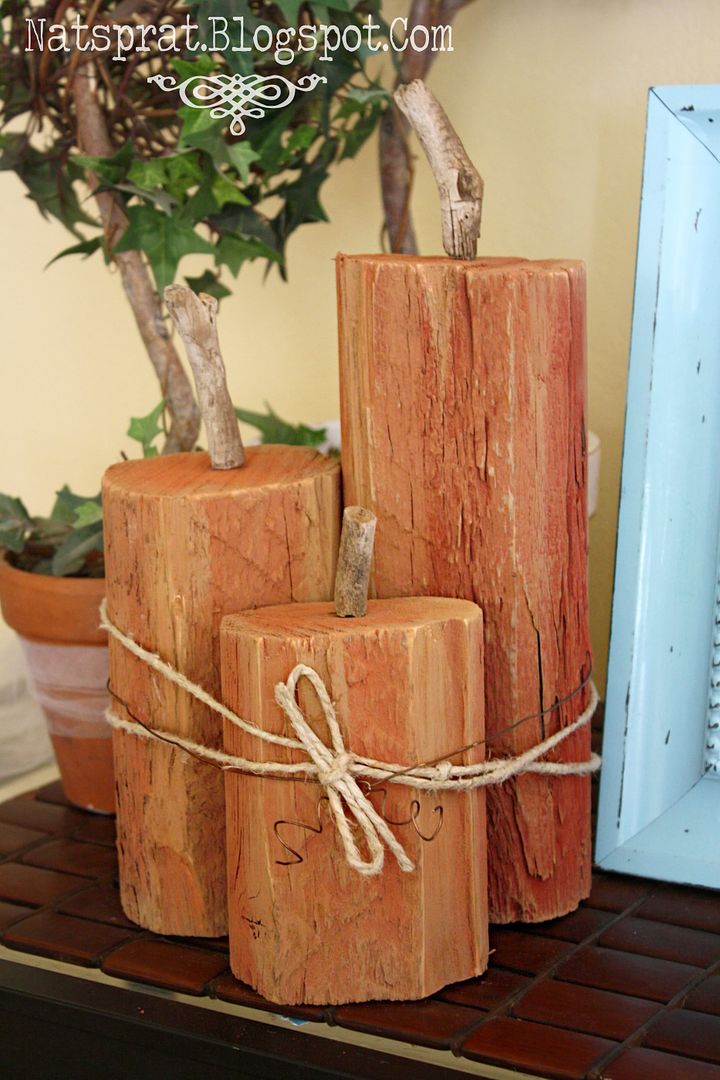
We have this HUGE pile of old fence posts in our backyard. They were there when we bought the house. I've been eying them for a while because I knew there was something awesome that could be made from them. they're all old and weathered...totally perfect! So, I played the Fairy Godmother and Bippity Boppity Boo'd them into pumpkins! And the best part is, they won't fall apart and rot at midnight. ;)

I'm not kidding, it was SOOO easy! Anyone can do it! All I did was take my wood post and cut it into three different sizes. We don't have any fancy mitre saws or table saws or anything, so I went out there with the regular hand saw and got to work. (Man...that's a good work out!) I'm pretty sure my 80 year old neighbor thought I was crazy. But I was loving it.

Then, I painted them different shades of red and orange and brown mixed together. After they dried I sanded the edges and sides a little to get the wood to show through.

Last of all, I found 3 pieces of old gnarly branches from outside and stuck them onto the pumpkins with thin nails that I nailed into the top of the pumpkin. With a tiny drill bit, I drilled into the "stems" so there was a hole to fit the nail into. That's it!!! It took me about an hour TOTAL. (I know, right!?!)

*If all of my yapping didn't make any sense, go see my homies at Lolly Jane for a great tutorial!*

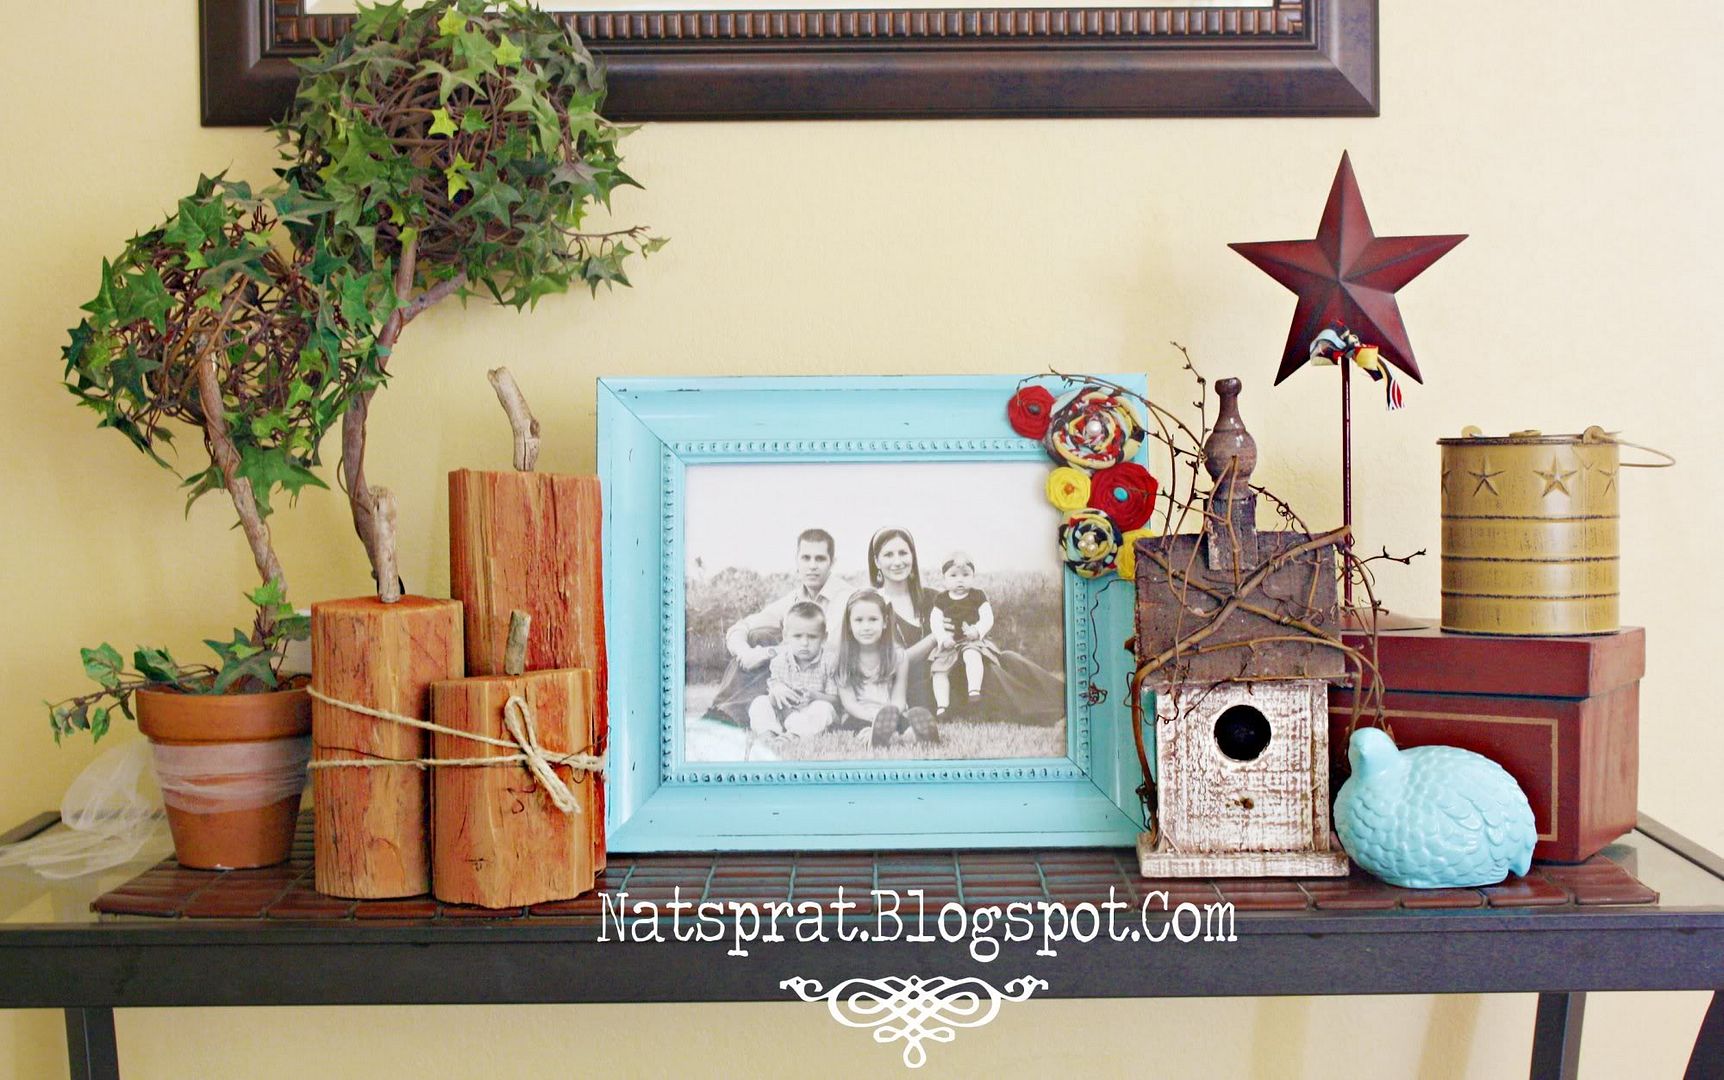
I love how they look on my newly fall-ish decorated entry table!

Photobucket

Now...go make some! And then, give yourself a big pat on the back and blog about it so I can see your creation in all it's glory! YOU CAN DO IT!!!

Photobucket
Linked up to:

Naptime Crafters
All Things Thrifty
Tatertots and Jello
DIY by Design
Trendy Treehouse
Eisy Morgan
Someday Crafts
Family Ever After

Mini Nest Necklaces


I got some new beads yesterday! They are the mini version of the turquoise eggs on the nest necklaces. So, I made some mini nest necklaces! I have to say, they turned out sooooo cute! They are about the size of a penny...so dainty and sweet! They're $8, and that includes shipping! Grab one while you can! And remember, if you want the regular size, I'm still taking custom orders for them! Click HERE! And please be sure to leave a comment letting everyone know that you've claimed that necklace! Thanks! :)


***UPDATE: ALL MINI NEST NECKLACES FROM THE SHOP ARE SOLD! FOR A CUSTOM ORDER, LEAVE ME A COMMENT, I'D BE SO HAPPY TO MAKE ONE JUST FOR YOU!***

Photobucket


Monday, September 26, 2011

My First Senior Portrait Session!

My "little" brother is a senior this year and this weekend he asked me to take his Senior pictures for him. I was so excited...and nervous...but mostly excited! Most kids here get their pictures taken up in the mountains or something, and we really wanted to do something different. We decided to make them more "manly" and sort of urban grunge. I think we hit it right on!

Photobucket

Photobucket

Photobucket

Photobucket

Photobucket

Photobucket

Photobucket

Photobucket

and... I saved my favorite for last....

Photobucket

I'm really happy with the way they turned out.

And I am AMAAAAAZED at how much time goes in to post-editing pictures! These puppies took me around 8 hours! *gah!* It's no wonder photographers charge so much for pictures, it's a lot of work!

Photography is such an incredible thing...I love how you can freeze time. :)

Anyway, thanks for letting me do your pictures, Brett! It was a blast!

Photobucket

Linked up to:


Saturday, September 24, 2011

Nat's Top Ten Pins of the Week

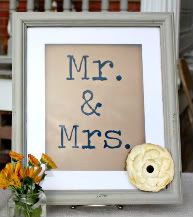
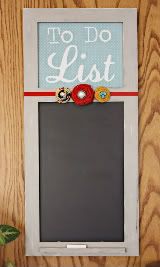
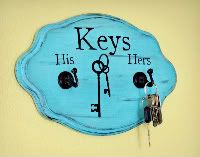
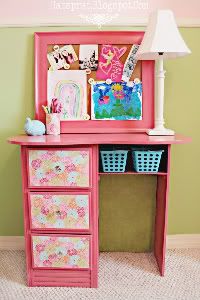
I thought it might be fun to do a "Nat's Top Ten Pins of the Week" type post every Saturday. Can I just say how much I absolutely LOOOVE Pintrest!?! It's literally like getting a new magazine every.single.day. There are so many incredibly talented and creative people and ideas out there! It's just too good not to share! So, my friends, here are my top ten favorite pins of the week. Enjoy!


1. Craft of the Week

Plates with scrapbook paper Mod Podged to them! SO many fun options for this! Like...cookie plates for delivering Christmas cookies? You could use cute Christmas paper on the back! I'm pretty sure they sell clear plates at Dollar Tree....this is on my to-do list for sure!

2. Cute Outfit of the Week

I have some boots almost exactly like this....maybe that's why I like it so much. I love the neutral tones together!

3. Tip of the Week

Use a disposable shower cap to put your shoes in so they don't get that nasty gum that you stepped on in the Target parking lot on your clothes. GENIUS!!!

4. Kid Friendly Craft of the Week

How ADORABLE is this!?! Oh my gosh, I want to make one, like..right NOW.


5. Good Laugh of the Week

I know...I know. Absolutely inappropriate. And hilarious.

6. Inspirational Quote of the Week


7. *DROOL* of the Week


Rolo cookies. Need I say more? The picture says it all!

8. Tutorial of the Week

LOOOOOVE this skirt! Great tutorial by Sew Dang Cute!

9. Hairstyle of the Week


This is the tutorial I used for the hairstyle in my profile picture! It works! :)

10. Home Inspiration of the Week


Now that my kids are going to school, it seems like out entry way has turned into a mess of shoes, coats and backpacks. Mark my words, I WILL build this for my entryway! It's perfect! :)

* * *

Annnnd, that's it! I hope you've enjoyed these Pintrest Top Tens as much as I have! Which one was your favorite?

P.S. If you want to follow me on Pintrest you can click on the "FOLLOW ME ON PINTREST" button on the right sidebar! :)

Photobucket

{You Know You Want One!}


It's official! I am selling these! It sounded like there was a lot of interest in my original post on My New Creation. I love this necklace because of the symbolism, it's just so sweet! There is an egg for each of my children, a bird to guard and care for the nest, and a heart for all my love. How perfect is that!?! Would you or someone you know like one, too? Well, now you can! :)


Here are the details

They are only $12, and that includes shipping. You just tell me how many "eggs" you want.

These are the "egg" options I have:
(I ran out of the Original turquoise)


The new super cute Speckled Turquoise which are the same size as the Original Turquoise

Aren't they cute!?! They remind me of robins eggs. :)

The Speckled Turquoise is smaller than the other 2 turquoises, so if you have more than 4 kids I would probably go with the speckled Turquoises unless you want a nest the size of a golf ball around your neck. ;)

Also, I have white freshwater pearls. You can use these for all of your eggs if you want, or if you or whoever the necklace is for has lost a child or baby this can replace the turquoise egg for them. It's like a little angel in your nest. *sniff sniff*

OR

I have these angel wing charms as well. If you want all of the eggs in the nest the same and you or they have lost a child, I can add a pair of angel wings for each little angel they have.

When you decide what you want, I make it and then I put it on my All Things Natsprat blog (http://allthingsnatsprat.blogspot.com/) with a PayPal button as a personalized listing just for you! And, as soon as it's paid for I send it to you. Easy as that! :) Let me know if you're interested! Order now, the holidays are coming up fast! These would be AWESOME Christmas presents! ;)


Or.....


There are the mini nest necklaces! The turquoise are the same color as the original turquoise, but about half the size. So, if you order a mini necklace, these are the stones I will use. They are so cute and dainty! They're only $10 and that includes shipping! If you would like a little bird on it, please let me know. It is $1 extra. ;)

Thanks so much!

Photobucket

Thursday, September 22, 2011

Red Mustard and Teal Beauty


Here's another necklace I just added to my All Things NatSprat shop! :) It's first come first serve! So, if you want it, hurry and snag it! Be sure to leave a comment with the post letting everyone know you claimed it! Thanks so much!

Price: $14 (includes shipping!)

Photobucket

New Necklace: First Come First Serve! :)

I just added a new necklace to my All Things NatSprat shop! There is only one, so it's first come, first serve! This necklace is PERFECT for fall....oh my gosh, don't you just love these colors together!?!

Cost: $14 including shipping!

So, if you want it, head on over and grab it while you can! And if you do grab it, please leave a comment saying you claim it so others know it's already been taken! ;)


Photobucket

Wednesday, September 21, 2011

My New Creation

My newest creation. I am absolutely obsessed with it! There is an egg for each of my children, a bird to "guard" the nest, and a heart for all of my love! I'm thinking about making them and selling them! I think they'd do great with the holidays coming up! What do you think???

Photobucket

Tuesday, September 20, 2011

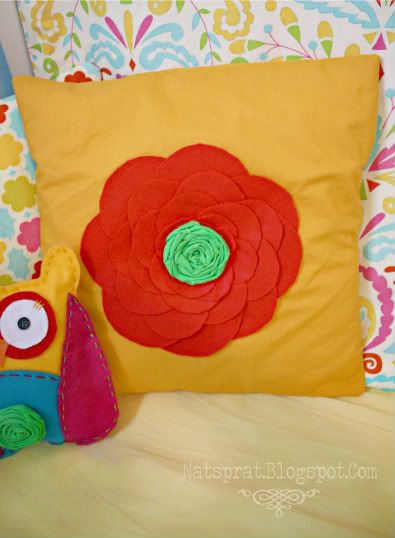
No-Sew Felt Flower Pillow Tutorial

Photobucket

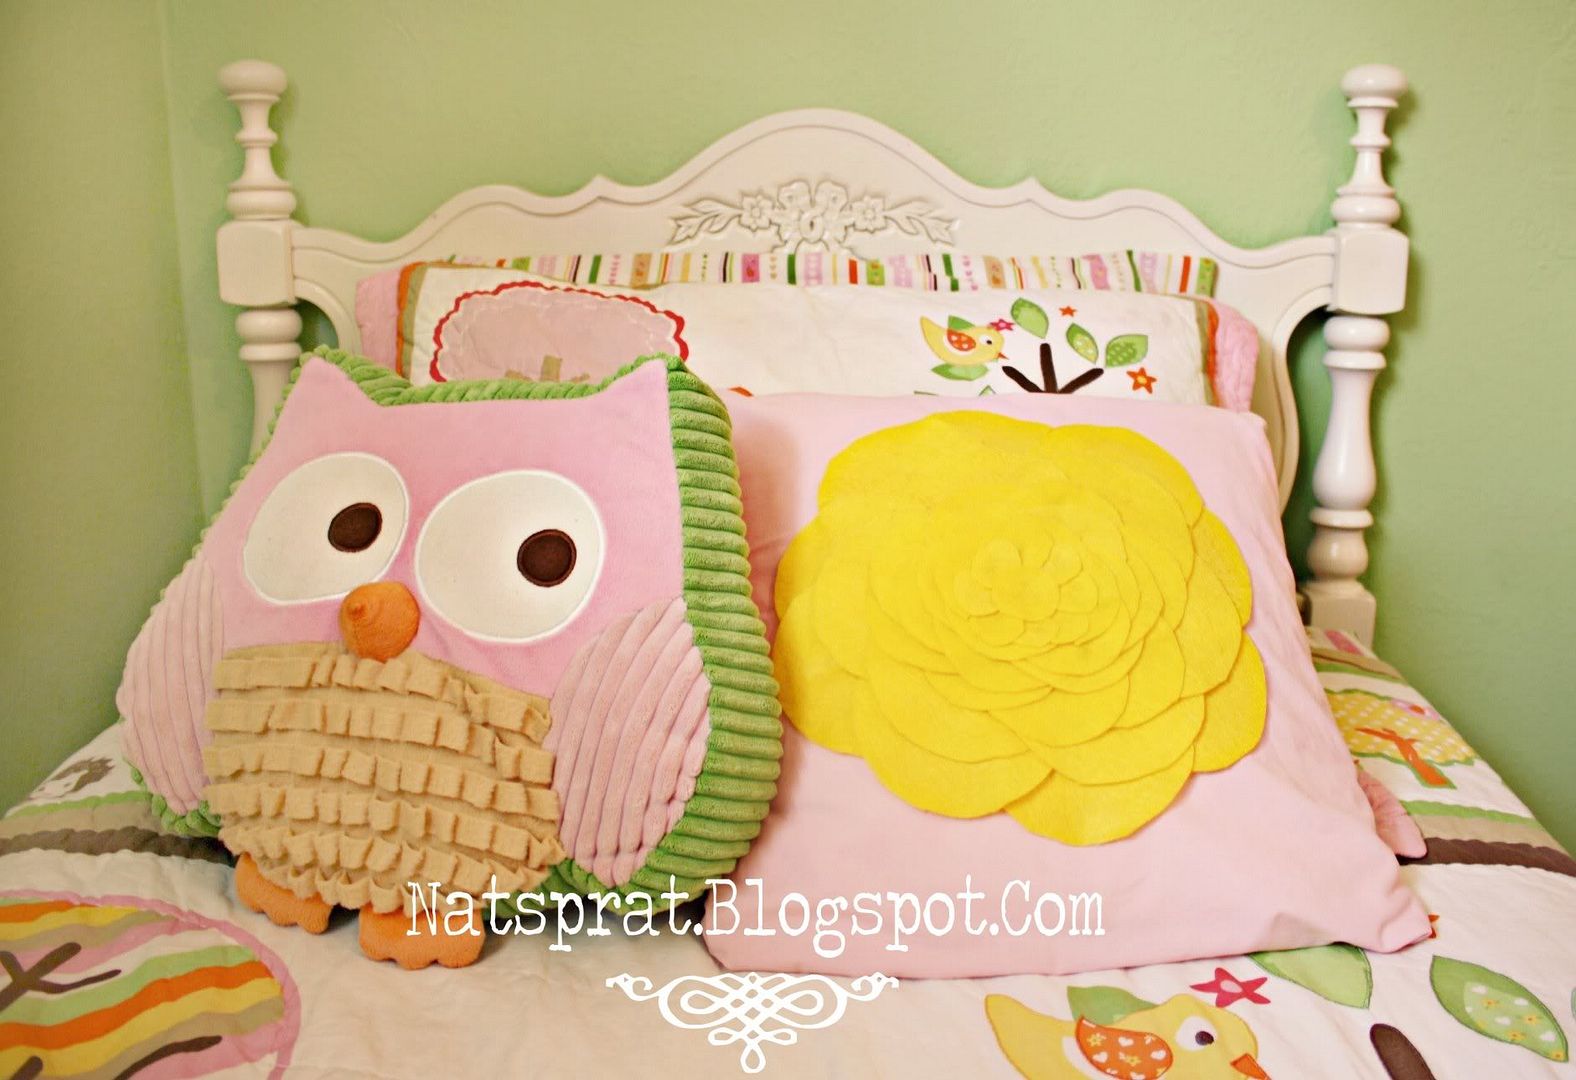
A while ago I did a guest post tutorial for this felt flower pillow and thought you guys would like it, too! It's SO easy and SO cute! I would love to make like..a hundred of them with different fabrics and colors of felt! In fact, I think I will. Ready for the tutorial? Here we go!


YOU WILL NEED:

3 sheets of felt
Scissors
Gluegun/gluesticks
A pillow you would like to dress up


Next, find 3 different sized things to trace. I used a sour cream lid, a cup, and a small can of diced green chilis. Use a marker that is just a little darker than the felt so you can see it.


On the first 2 sheets, you will trace 4 large circles and 3 small circles.


On the third sheet, you'll trace 6 medium circles and 3 more small circles.


Now, cut out all of your circles. You should have:


Next, cut them all in half.


Get your pillow, and lay out 9 of the large petals in a circle. Don't glue them yet...just get them situated to your liking.


Once you get them where you want them, THEN you can glue them on.


Layer on a second layer of LARGE petals.


Now a layer of MEDIUM petals...


And a second layer of MEDIUM petals.

Now, take 8 of your small petals and cut them in half.


Now, round off the corners.


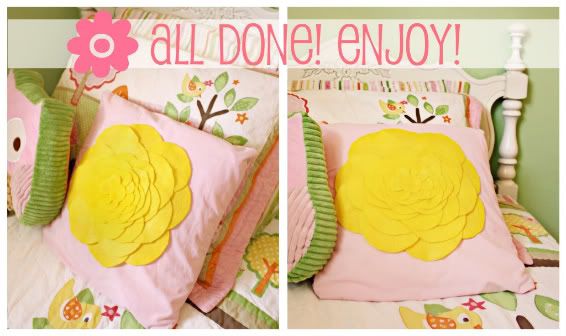
Finish layering your small petals, ending with the ones you cut in half. Then, cut a circle of felt to fill in the hole in the middle. I traced a spool of thread, it was the perfect size! It will end up looking like this:


And now....give yourself a big pat on the back. :)
Photobucket


How cute would this be on a patterned pillow? Or you can also put a rolled fabric rosette in the center like this:

Photobucket

See, easy peasy. :) And, with the holidays coming up, now would be a great time to make some for Christmas presents! Everyone will be SO impressed! *wink wink*

Photobucket

Linked up to:
Tip  Junkie handmade projects